What to Expect During a Bathroom Tile Renovation
Follow the main planning and installation stages shown in a real Kitchener bathroom wall-tile project.
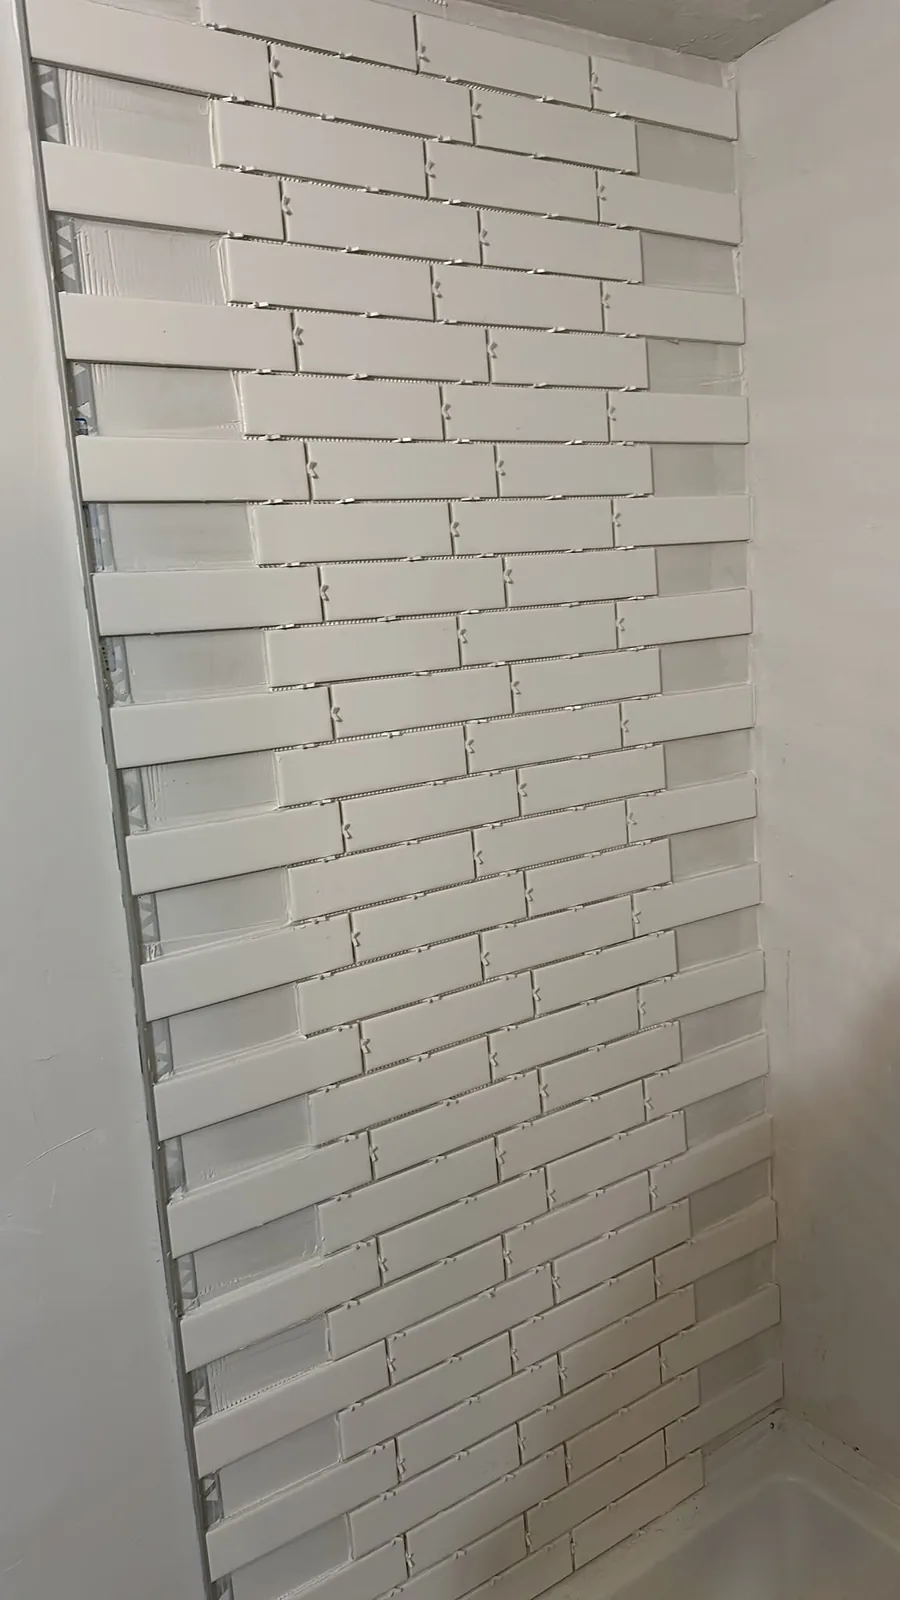
Agree on scope before installation
A tile project begins with the surfaces, layout and limits of the work—not with the first tile. Confirm which walls are included, how the tile will meet corners and fixtures, and which finishing tasks are part of the quote.
- Tile size and pattern
- Included wall areas
- Edges, corners and fixture openings
- Cleanup and remaining finish work
Installation progresses in stages
The Kitchener project in our gallery shows wall tile being installed around a bathtub over several stages. Work-in-progress photos are useful because they show alignment and coverage before the room is presented as complete.
- Preparation and layout
- Setting tile in sections
- Checking lines and spacing
- Completing edges and remaining finish stages
Ask what is ready for use—and when
Tile placement is not always the final step. Depending on the agreed scope, grout, sealant, fixture work and cure time may still remain. Ask for a clear handoff so you know when the area can return to normal use.
- Confirm all agreed stages are complete.
- Follow drying or cure-time guidance.
- Keep care instructions for the installed materials.